Smokey Joe Offset

Background
This is my Smokey Joe. I think my parents bought it to take on picnics when I was about ten years old. It has the threaded-bent-wire legs that latch into the ash pan and secure inside the firebox with wing nuts. It also has a glorious teak handle which has absorbed the smoke, smells, oils, and creosote of the thousand-odd meals we have grilled on it over the years.
Even with our kids, it keeps going. It fits four burger patties, or plenty of sausages, or four decent-sized steaks (with a bit of flipping and rotating), or half a chicken. For my part, I’d rather grill again tomorrow than have leftovers!
At some point I wondered whether one could do offset smoking on a Smokey Joe. It turns out the answer is a qualified “yes”. We’ve done pulled pork (max about 2.5 lbs), beef brisket (again, max of about 3 lbs, and the point cut fits better than a flat, so we take the tip off the meat that will be our St. Patrick’s Day corned beef and smoke that), BBQ roast chicken, even ribs, though you have to cut those into sections and you get a lot of “burnt ends”.
Construction
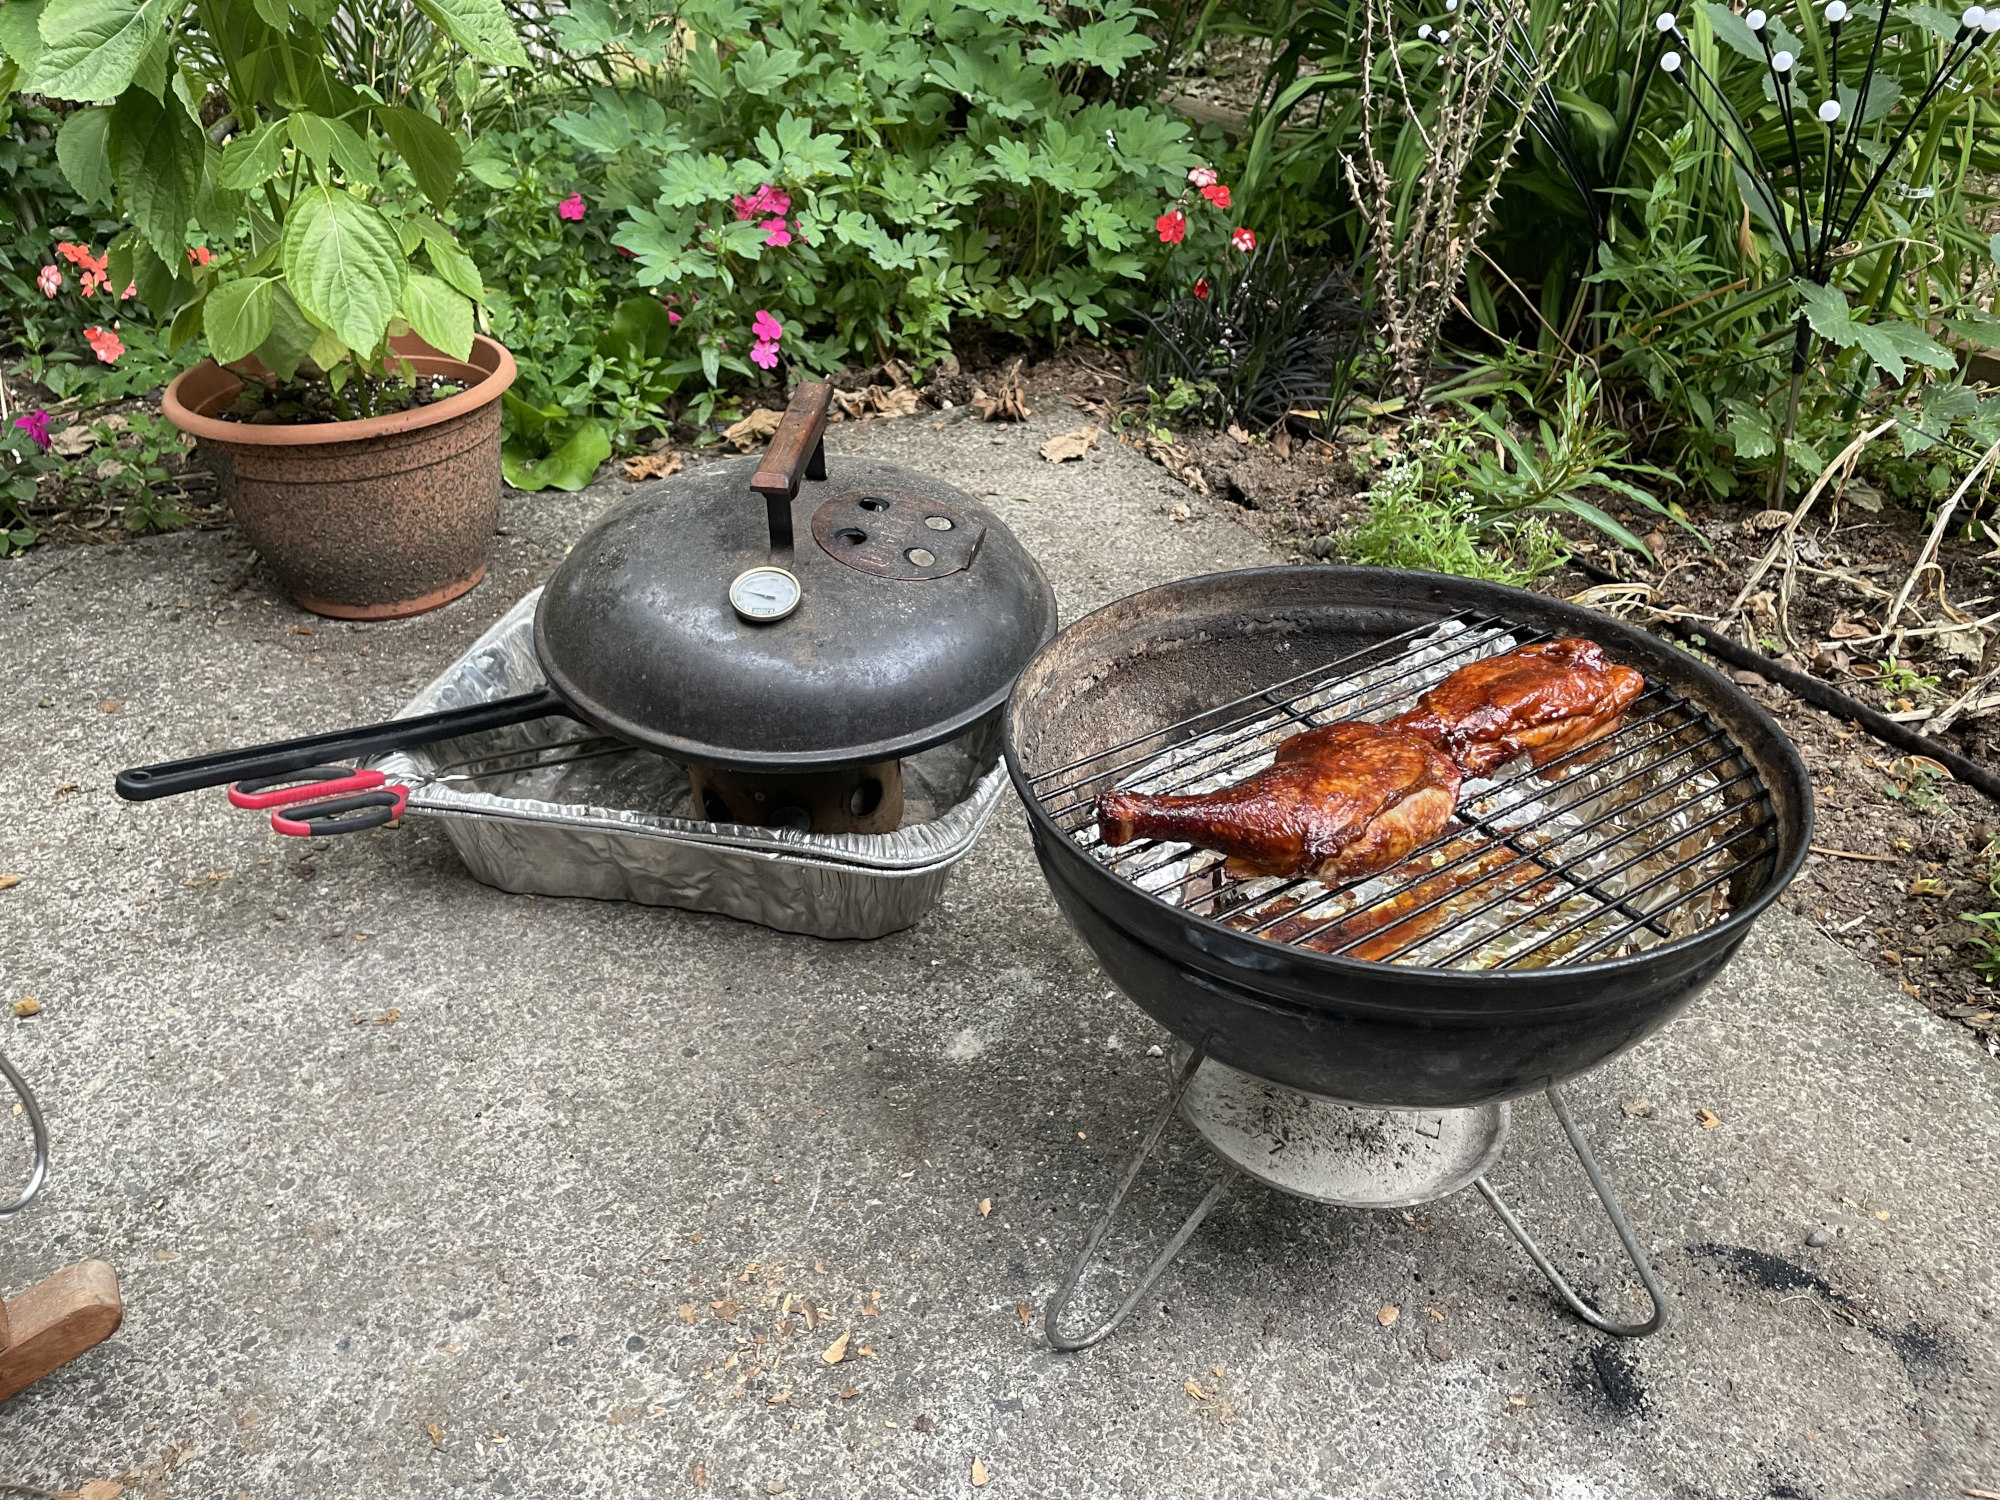
The first step is getting a thermometer on that lid. I used a step drill for sheet metal, drilling down until I matched the diameter of the probe on the thermometer I had purchased. Happily, some of Weber’s own smaller thermometers look pretty good on the small Smokey Joe lid, and have proportionally short probes (1.25") to not get in the way of your meat. Probe into hole, wingnut, and that was done.
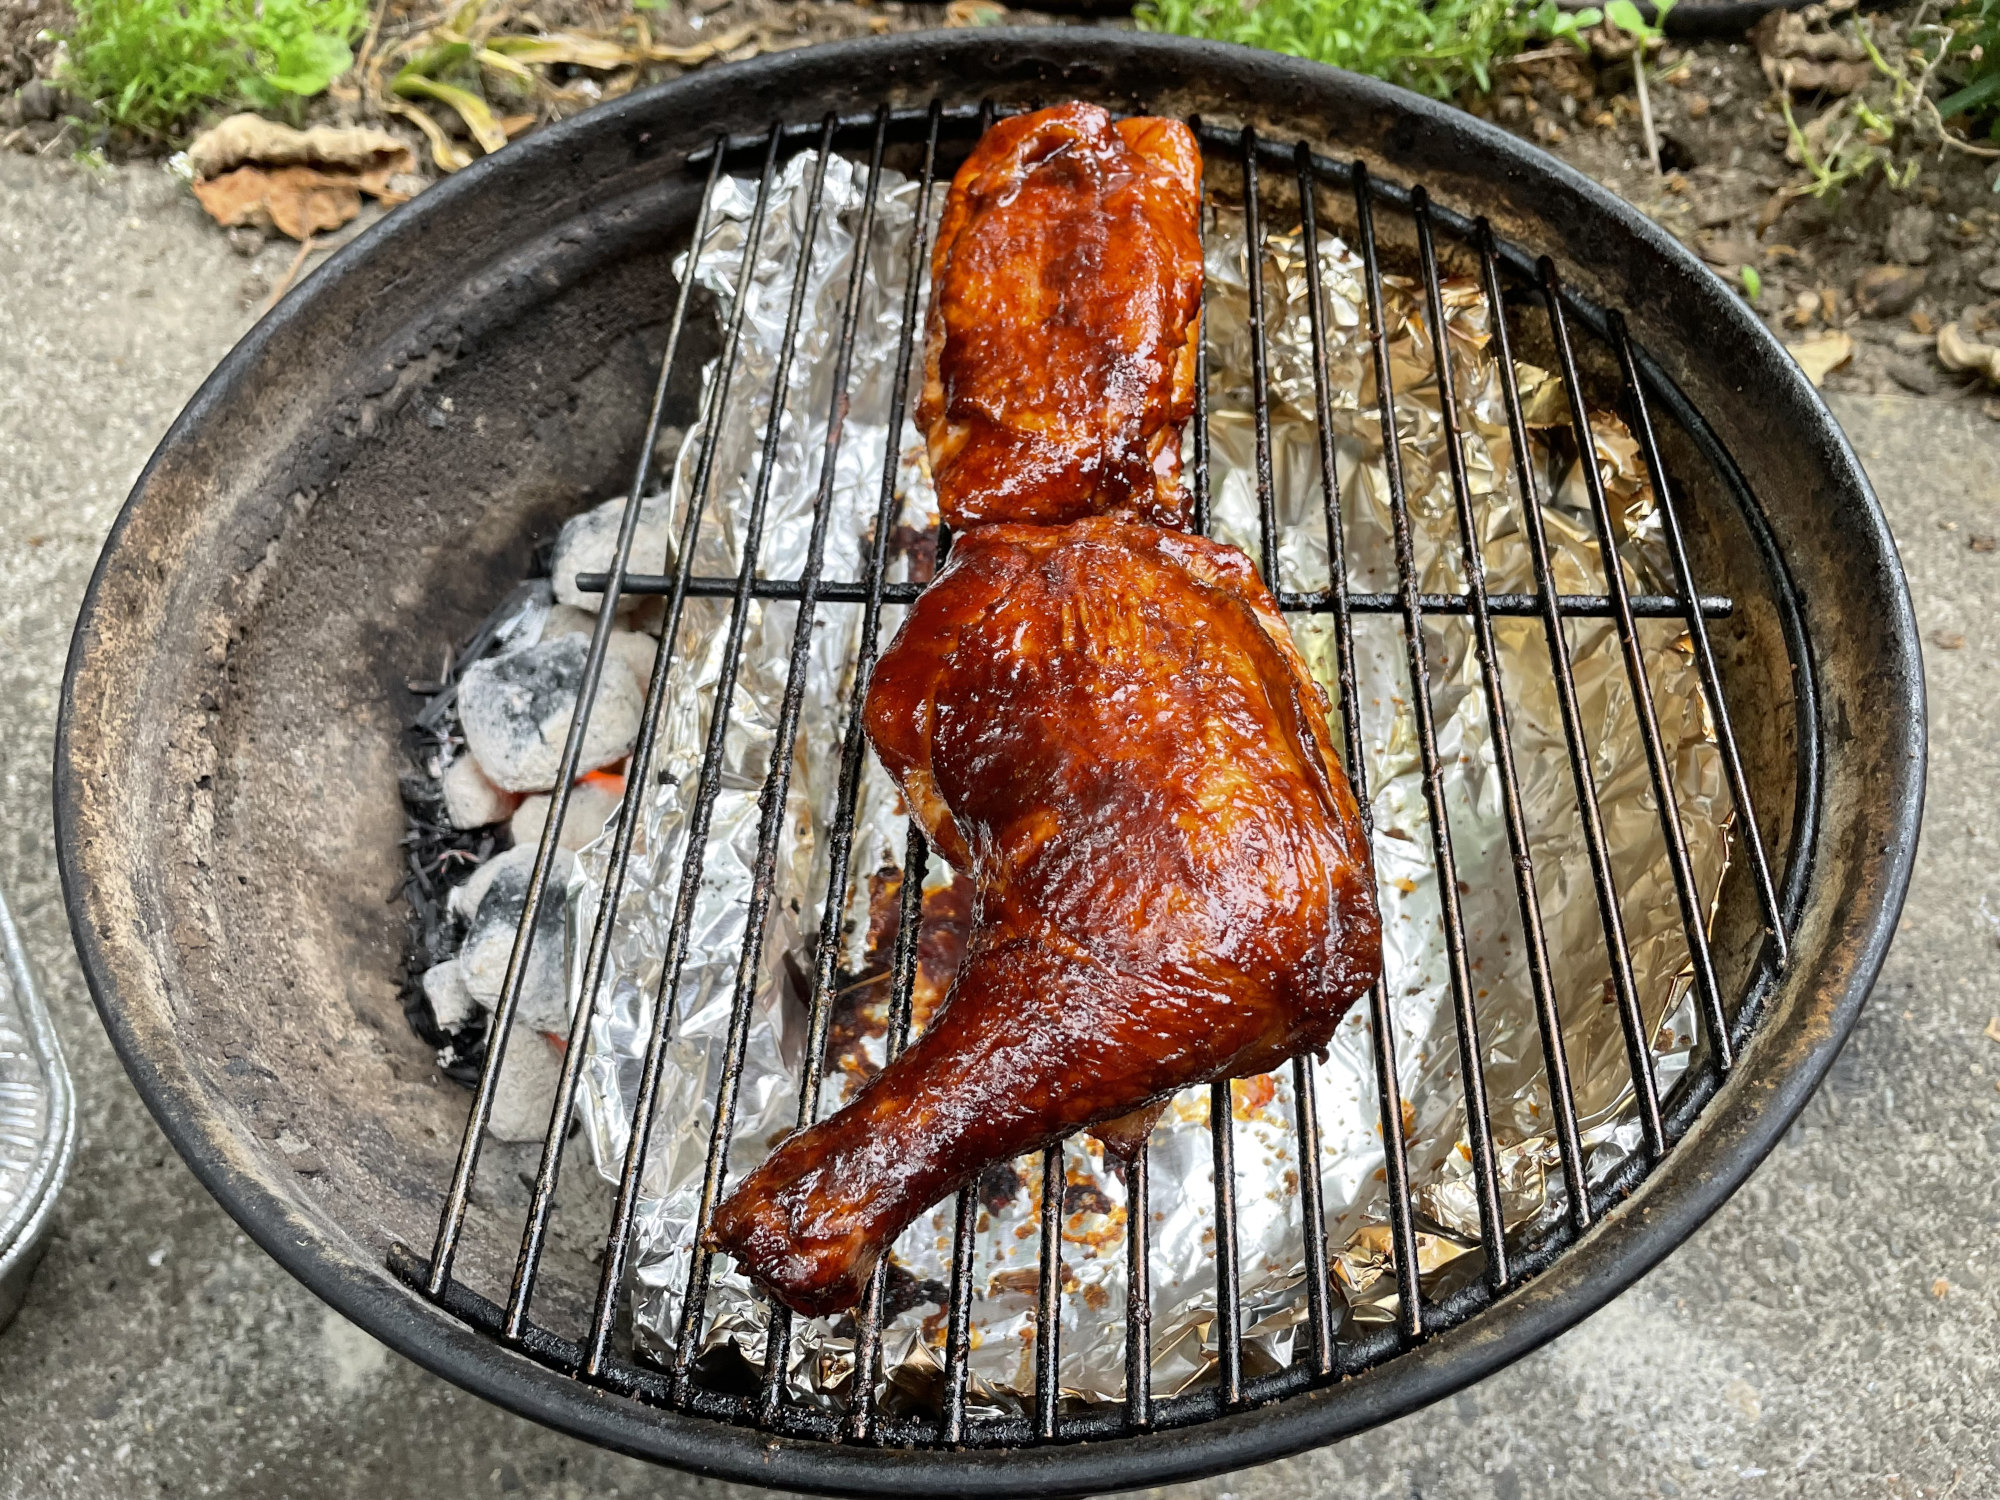
After this, I reel off about 3 feet of heavy-duty aluminum foil, folded in half to give us about 1.5 feet, and push it into 2/3 of the kettle. For the final (scant) third, I build up a straight wall of the foil to act as a heatshield / firewall. The foil will act as our drip pan, though I haven’t done a cook where I’ve put any liquid in there. The cuts of meat are so small, I think you can generally escape without a water pan.
For a Smokey Joe, each burning coal contributes about 25F, so about 9-12 will get you to 225-250F. To compensate for not having a water pan, I wet my wood chips and wrap them in a foil packet, which I then place over the burning coals. This tempers the heat of the fire, keeps direct heat off the meat, and the moisture in the chips helps regulate the overall heat (through the boiling of the water in the chips, similar to a water pan).